

IOStash API makes it easy for your devices, applications and services to read and write data to IOStash and through IOStash to each other. IOStash supports reading and writing data via three resources: Channels, Devices and Datapoints. A channel is a collection of devices while a device consists datapoints. A datapoint is the most granular unit of the IOStash data hierarchy. A datapoint is essentially a value that your device will be pushing. For example, consider a connected temperature-humidity sensor. The device will be pushing two values - temperature and humidity. In IOStash, we can define two datapoints 'temperature' & 'humidity' and push data to them. In the next section, you'll learn how to create a device from the IOStash dashboard.
Creating A Device
Creating a device from the Dashboard is easy and straight forward. Login to your dashboard if you haven't already. Click on "Devices" on the main menu located at the left and then on "Add New Device".
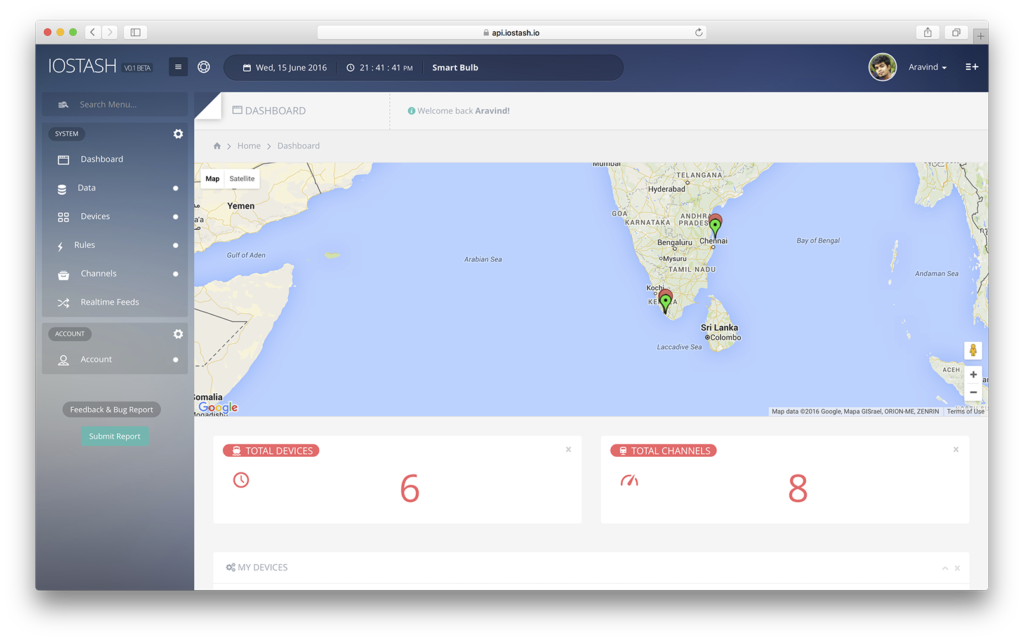
IOStash Dashboard
Create device page will be opened. This is where you define you new device. On this page, you can see 3 sections: 'Basic Device Information', 'Location' and 'Data Points'. First section deals with the basic properties of your device. Device name is used to identify your device - This should be unique. Device description lets you give a short description about the device. Device secret is like a password to encrypt data sent between your device and IOStash. If the device is set to enabled, you can readily start pushing data upon device creation. If the location parameter is static, it means that the device is geographically static. If the device is set to public, other people can see your device dashboard - useful if you would like to publish your device data.
The location section is used to define the location of the installed device. If the device is a geographically dynamic device, set the starting point of the device.
Data point section deals with the datapoints associated with the device. Enter the datapoints your device will push separated by commas. Latitude and Longitude are built in data points, you cannot add latitude/longitude as datapoints. Also keep in mind that, you cannot add/delete datapoints once a device is created.
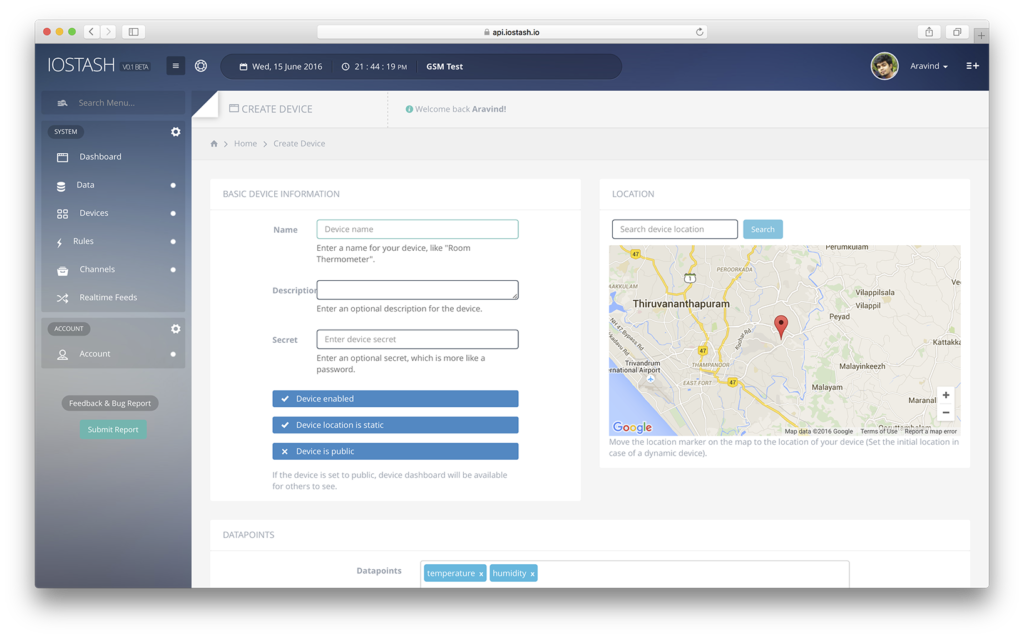
IOStash Create Device Page
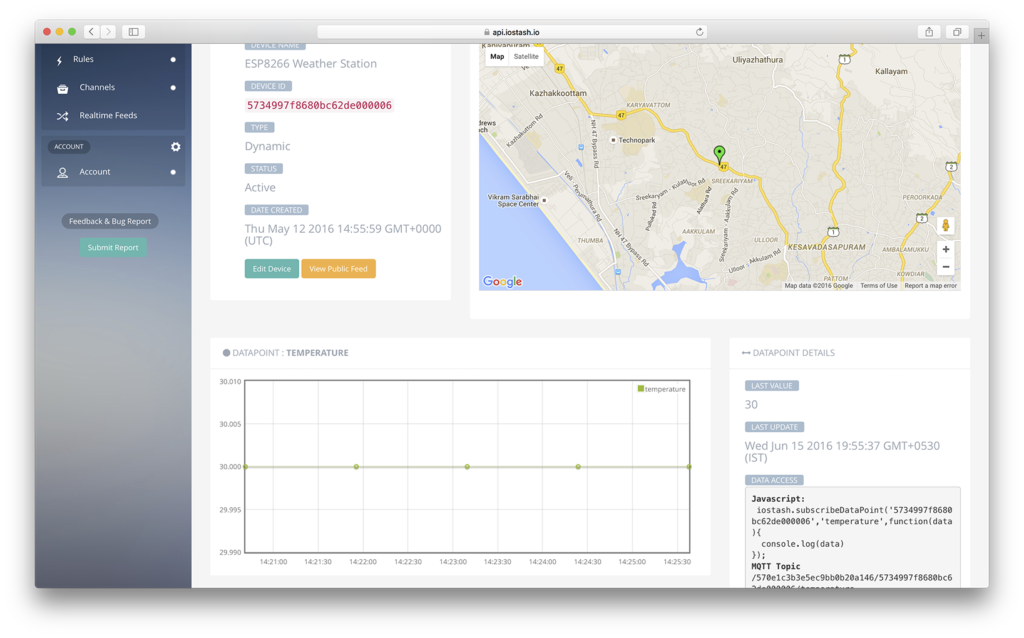
After creating a device, you'll be presented with the following screen. At this point, your device is ready to push data to IOStash.
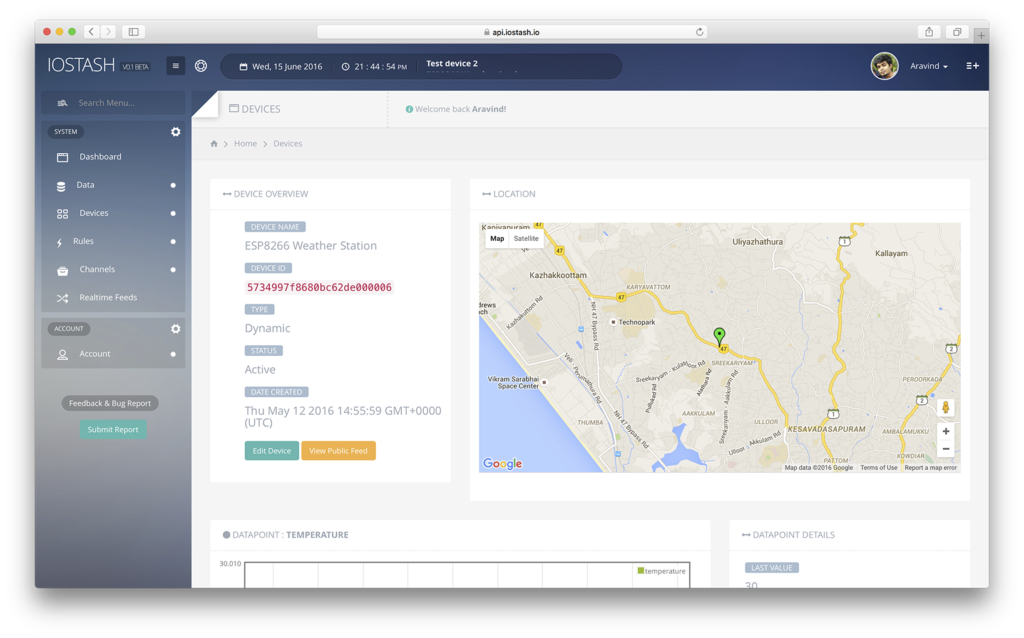
IOStash Device Page
Take notice of the "Device ID". This unique ID is used to push and pull data from your device. You'll have to use this ID in every data push you perform from your device. If you scroll down, you'll see your datapoints and their corresponding graphs. If you haven't pushed any data, you won't see any plots on the graphs.
Your device has been created, lets push some data!
For saving data to IOStash, you need to authenticate the requests you send from your devices with your X-ACCESS-TOKEN. To get your X-ACCESS-TOKEN, go to your profile/account page:
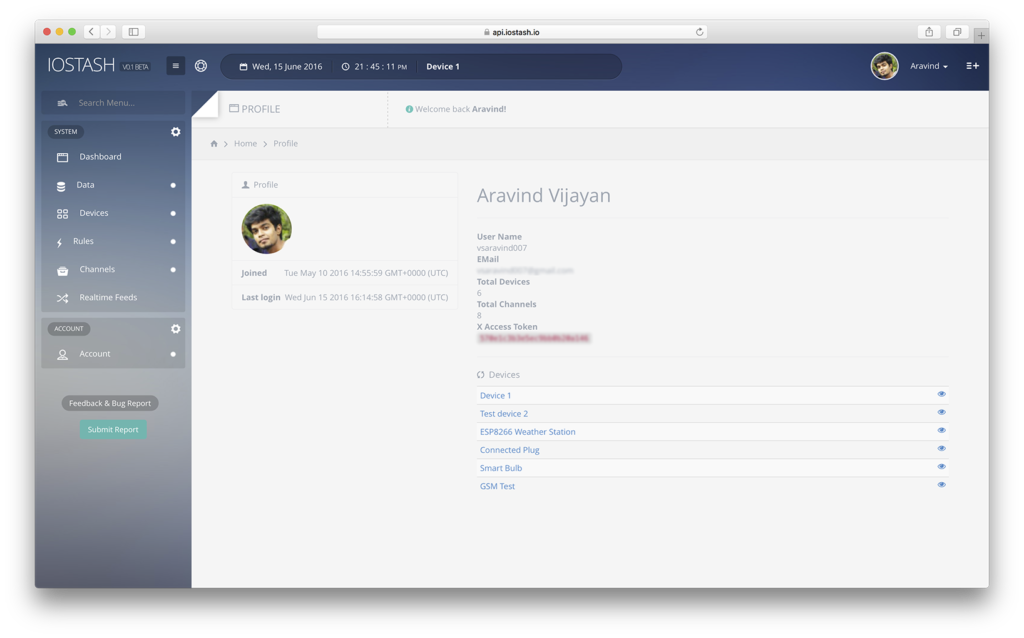
IOStash account page
The above example reads an LM35 temperature connected to the A0 PIN of the ESP8266 and sends the data to IOStash every 3 seconds. If you go to the dashboard of this device, you'll see realtime updates as they are received at the platform.
Data currently pushed are being saved to IOStash. You can analyse and retrieve this data at any time from the dashboard.
Realtime Data Streaming/Reading
Till now, we've written data to the platform from a connected device. Now, we can listen for new data from your device in realtime. For this example, we're going to use Nodejs. This example assumes that you've basic understanding about javascript and Nodejs. Create a folder in a convenient location and cd to the location.
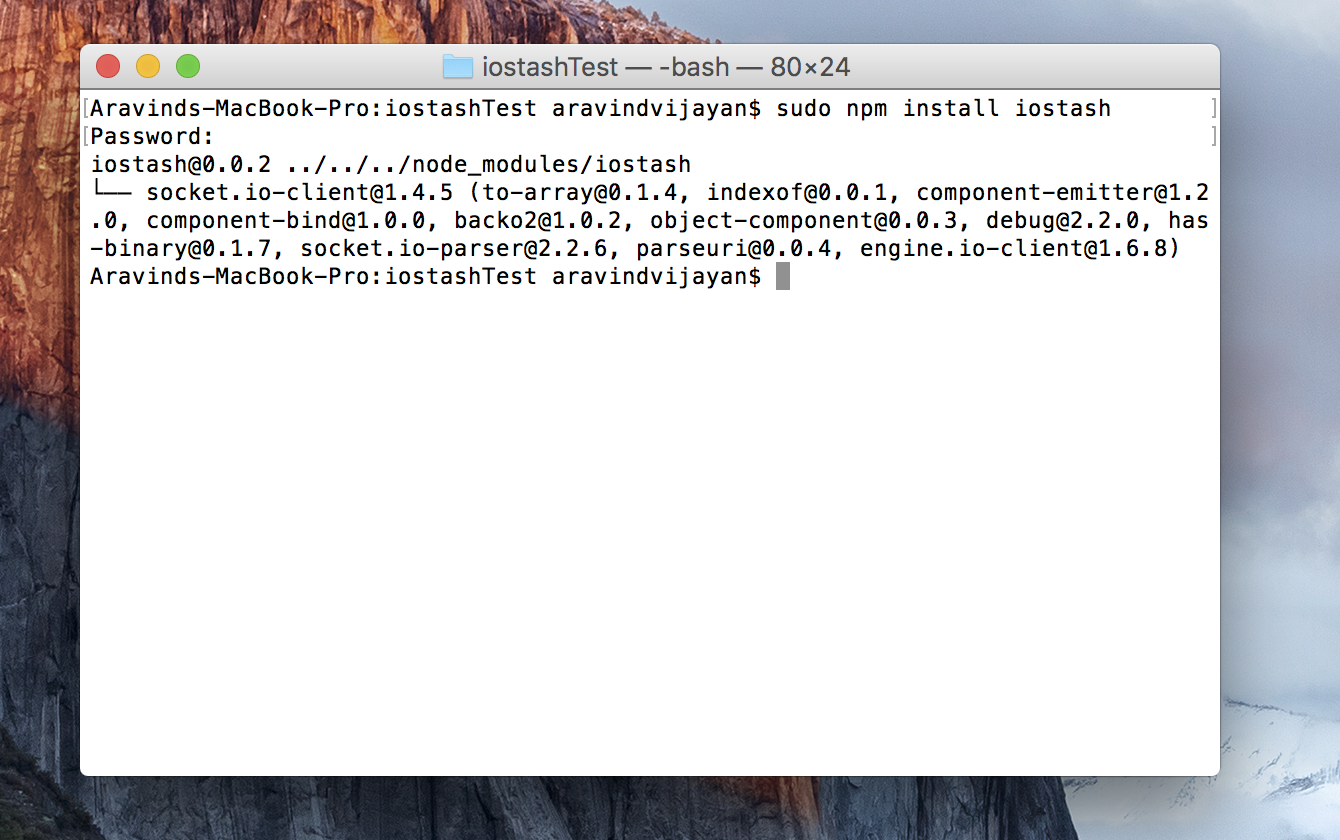
Now, issue the following command to install IOStash client module for Nodejs:
$ sudo npm install iostash
This will install IOStash client for Nodejs
Now that we've IOStash module installed, we can write some code for Nodejs to get realtime updates:
var iostash = require('iostash')
console.log('IOStash Realtime Data Feed Example');
iostash.init('YOUR ACCESS TOKEN HERE');
iostash.subscribeDevice('YOUR DEVICE ID HERE', function (data) {
 console.log(data)
});
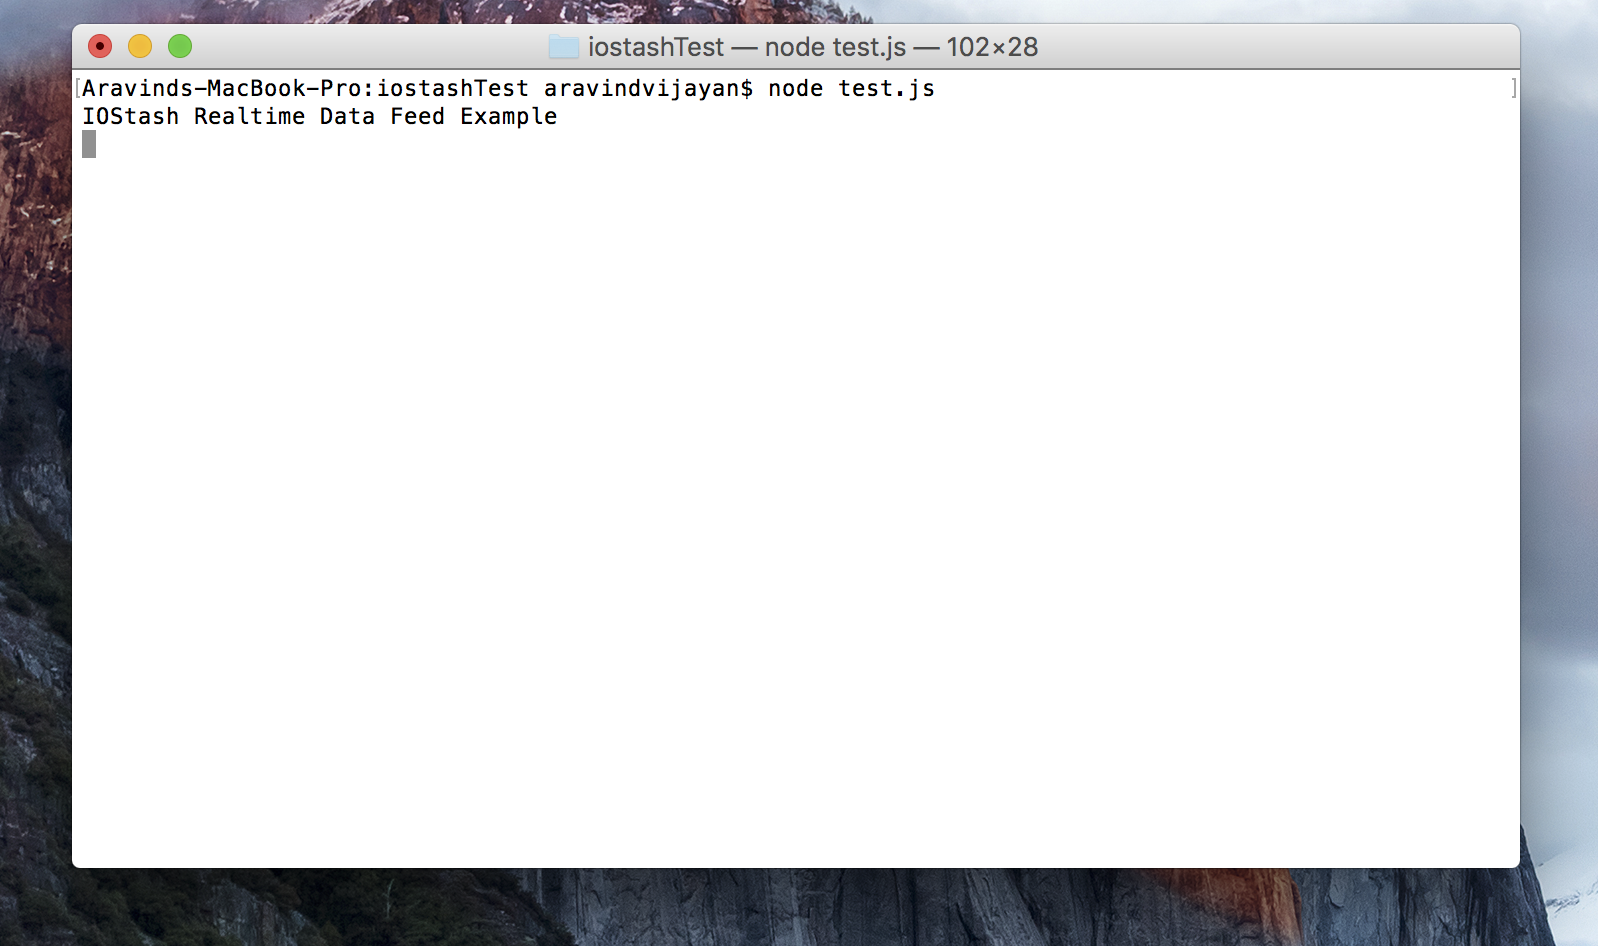
Copy and paste this code into your favourite text editor and save it as 'iostashtest.js'. Running the code will generate the following output:
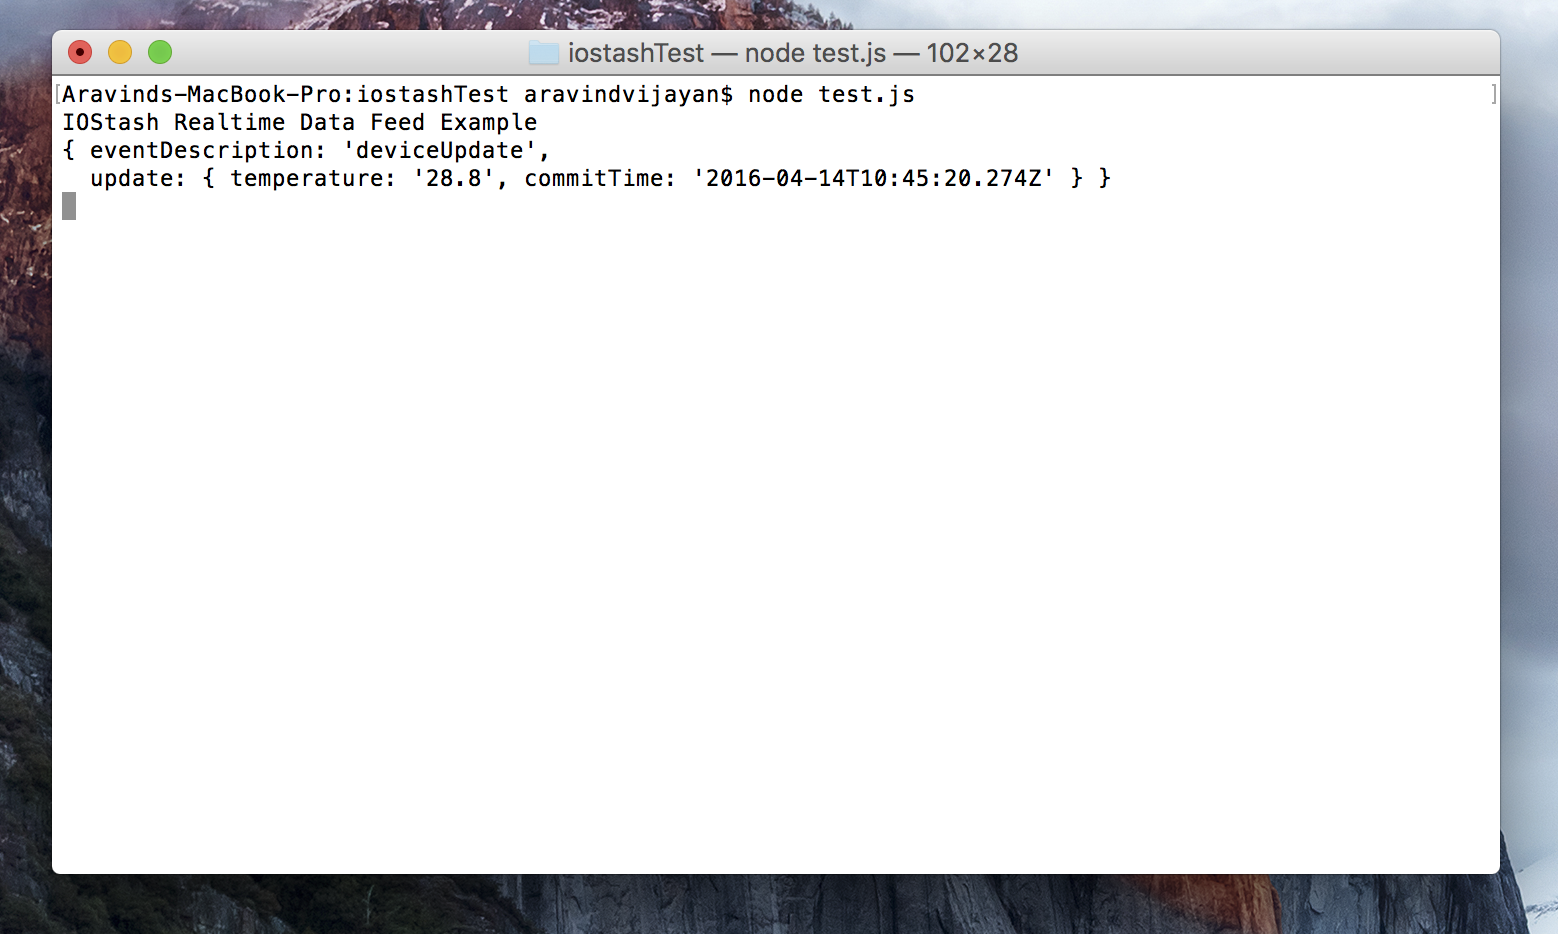
Now, whenever data is pushed by the device we're subscribing to, our little program will receive the update in realtime:
We can use the same codebase for a web page also.
IOStash has client libraries for Javascript, NodeJS and Android. You can use any of the available client libraries to write applications to go with your connected device, all of the libraries follow a similar coding pattern.
Please refer to API Docs for complete API documentation
Have fun connecting your world!